
OpenMW 0.40 - Elder Scrolls III: Morrowind on Linux
By Andrew Powell, published 10/11/2016 in Tutorials
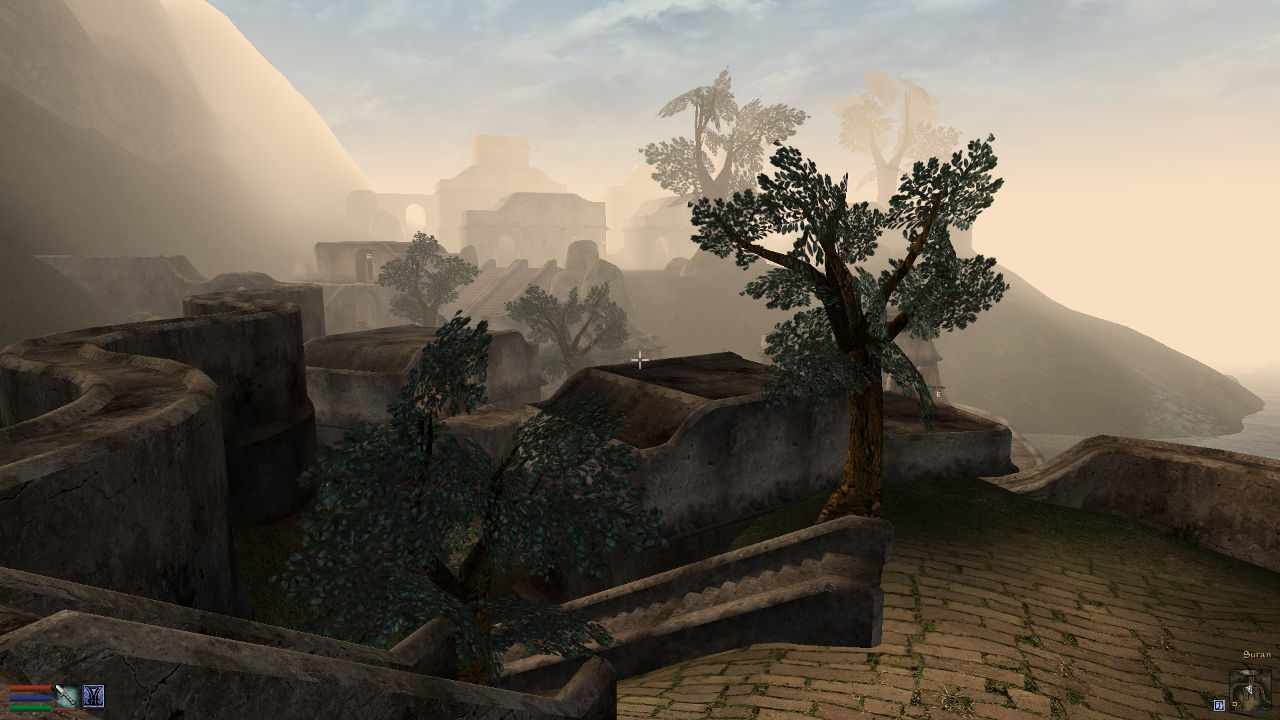
The Elder Scrolls III: Morrowind is one of my personal favourite games of all time. Years ago I would have happily run the game in Linux, but the only real way to do so was through WINE. Thanks to OpenMW, a totally rewritten and open source engine for Morrowind, it is now very much possible to have a near complete Morrowind experience, completely natively.
OpenMW has been in development for some years now and if you've been following its development, you would know Morrowind has been playable to varying degrees with each new release. When I last tried out OpenMW (again, on Linux) a couple of years ago, it was amazing how much did work, but there were certainly missing features like opening doors in-game. You could get around these issues by using the in-game console to activate objects like doors, but it was obviously not a complete experience that you would get with vanilla Morrowind.
OpenMW version 0.40 dropped a couple months back, however, and besides some still missing features like shadows, the engine is in remarkable shape and allows you to play Morrowind as a pretty much completely vanilla experience. Better yet, there's even a decently sizable list of mods for Morrowind that will work with OpenMW. We're talking mods that were written for vanilla/standard Morrowind, by the way. OpenMW has come such a long way that many old mods Just Work™ as intended even though it's a completely different engine. Even some Microsoft Windows users use OpenMW to play Morrowind, as the OpenMW engine even offers generally better stability and features like 1080p resolutions which were not seen in the original Morrowind game.

As a Linux user, the benefit is obvious - you can play Morrowind on your favourite distro natively instead of messing with WINE and dealing with the old Morrowind engine which was prone to all sorts of crashes and weirdness even on Windows.
Of course, OpenMW is just an engine replacement/reimplementation, you still need the original TES III: Morrowind game itself in some manner, whether it be on CDROM or Steam, which will give OpenMW all the assets (textures, sounds, game data etc) to run.
Installing OpenMW
Head on over to the OpenMW site and hit the downloads section. In the Downloads section there's simple guides on how to install OpenMW on your distro of choice. For Ubuntu there is a PPA which you can install like so:
sudo add-apt-repository ppa:openmw/openmw
sudo apt-get update
sudo apt-get install openmw openmw-launcher
Hey presto, OpenMW is now installed. This is just the engine itself installed of course, not the game in its entirety. Once upon a time you needed an already installed version of Morrowind, say for example Morrowind installed with WINE, which you would then copy over the necessary game data files to OpenMW.
These days though, OpenMW has its own install wizard and will guide you along even if you have no existing install of the game. Installing Morrowind is pretty much as easy as installing regular Morrowind in Windows. The first time you run OpenMW, it should bring up the wizard and you just follow the prompts. If you have the original Morrowind CDROM (or the Morrowind Game of the Year Edition CDROMs which includes the expansions Bloodmoon and Tribunal), just put in each disc as the wizard tells you to and it will automatically install all the necessary files from disc.
If you have an existing installation through WINE or Steam, simply tell OpenMW where the installation is located by clicking on the 'Browse...' button when prompted.
To get started, simply run:
openmw-launcherOr run OpenMW from your applications menu, which will run the launcher also.
Before you play, there is one more step, otherwise you'll get a fatal error - go to the Settings tab of the OpenMW Launcher and hit the 'Run Settings Importer' button, which will get you setup with a default Morrowind.ini file. The reason it's not done automatically is in case you have an existing Morrowind.ini file from an old installation you may wish to use instead.
You should also go to the Data Files tab and make sure the relevant .esm files are selected. If you're using just Morrowind without expansions, at least Morrowind.esm should be selected. If using the expansions, be sure the files Bloodmoon.esm and Tribunal.esm are selected and in the correct order (the launcher should tell you if the ordering is correct).
Launching Morrowind
Want to go bash Mudcrabs and get called 'outlander' every 5 seconds?
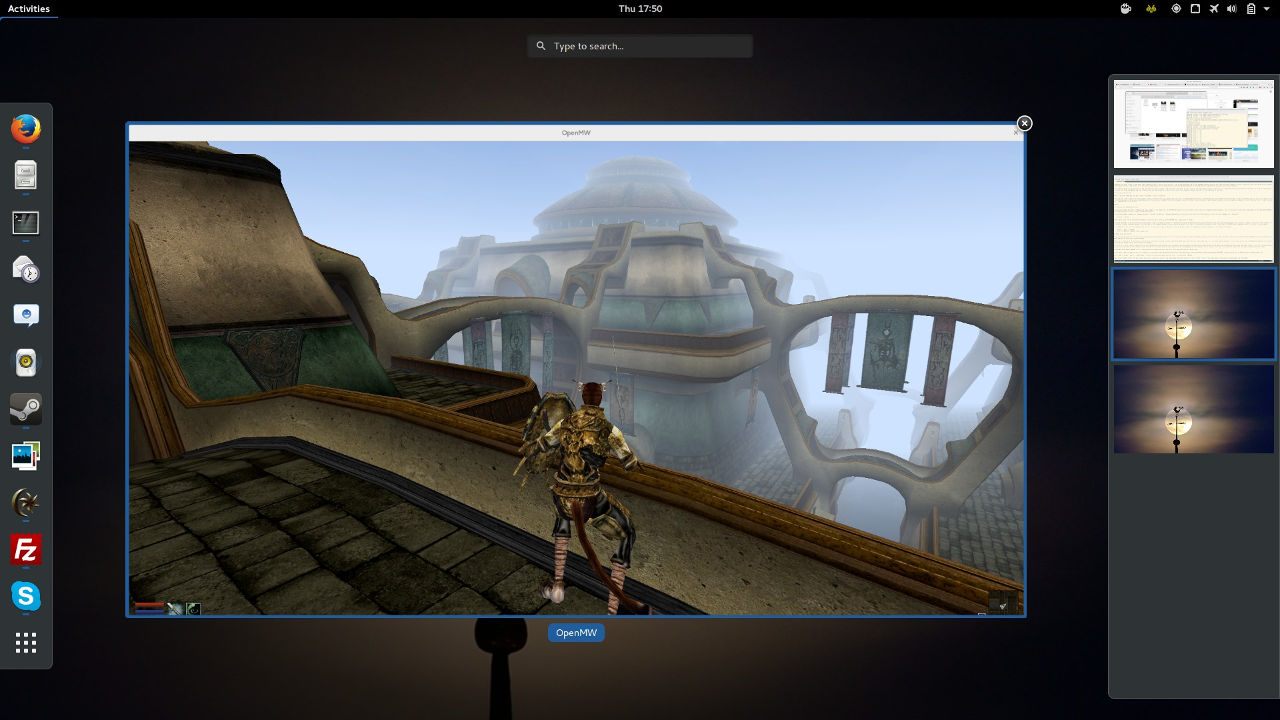
Just hit the 'Play' button in the launcher! If all has gone well, you should see that classic Bethesda splash screen, followed by the good old Morrowind main menu screen, complete with the epic intro music score. Everything else at this point should be more or less as you remember from the old game, just with higher video resolutions available and maybe a lack of graphical shadows (I didn't notice until I read they weren't implemented, to be frank).
Enjoy!
Playing with Bumblebee/Primus
If you're like me and have a laptop with dual graphics, the good news is OpenMW/Morrowind will run decently well even on integrated Intel graphics, but if you want to take full advantage of the dedicated NVIDIA GPU, OpenMW seems to work fine with Bumblebee/primus.
You could probably simply run openmw-launcher through primusrun, though personally, to be more direct and skip the launcher I just run this command in a terminal:
primusrun openmwDone. Works fine for me and the performance certainly was a step up on my NVIDIA GPU, especially in towns.
The only downside is occasionally the game doesn't seem to shutdown correctly, thereby keeping the NVIDIA GPU active even when you think you've exited the game. This will be evident if you've ran the command in a terminal window, because you won't be returned to the command prompt like you normally would. Plus there's the whole fans making noise thing from the NVIDIA card, probably, which is a bit of a give away.
As a Bumblebee user you'll probably know what to do here (hint: get murderous in the terminal), which is something like this (open up a new terminal window):
ps aux | grep -i openmw
kill -9 <whatever openmw's PID number was>
Mods (the fun stuff)
You would be forgiven for thinking that a game engine replacement that is not yet even at version 1.0 would probably not do well with mods. But actually, mods are one of the things OpenMW set out to handle even more gracefully than the original engine.
There is a little bit of modifying a config file everytime you want to add a new downloaded mod, but once you understand why, it's not only quite powerful, it can save you a lot of headaches compared to the old way of doing things. We'll get to that in a moment.
First of all, you'll want to head over to the OpenMW Mod Status page and see which mods are working and which ones may have issues. This isn't a totally exhaustive list and some of the testing results may be out of date (some of the results may be for OpenMW 0.3x for example, while you may find that on the latest 0.40, that the mods seem to work just fine).
The great thing about OpenMW is it's very easy to test mods and not risk your existing installation. Here's why...
First, get a mod you want to try. For example, say the very cool Morrowind mod called SkyrimUI, which gives a bit of modern spice to Morrowind's UI.
Next, make a folder, say in ~/Downloads, where your Morrowind mods will live. I called mine 'MWMods'.
Make a new folder within the new folder you just created and extract the downloaded SkyrimUI archive to this folder. Give it the same name as the mod you downloaded, eg. SkyrimUI.
In the end your file structure will probably look like this: /home/user/Downloads/MWMods/SkyrimUI
Next, we have to tell OpenMW how to find our new mod. Now, this is also where things get really cool. In the old days with vanilla Morrowind, a mod like SkyrimUI would have to be installed manually (extracted into the game's core data files), as it has no .esm files of its own, it's simply a mod that overrides the default textures and meshes of the game, which in this case is the graphic files for the game's UI. Of course, once you did this, unless you backed up the original data files for the game, there would be no easy way to reverse this and you would be stuck with your 'modded' game unless you completely reinstalled.
This isn't a problem with OpenMW. Although you could still install a mod this way, there's another much better way. First, open up the openmw.cfg file located in ~/.config/openmw.
For example:
gedit ~/.config/openmw/openmw.cfgFind the first line that starts with data=. After this line, type a new line also beginning with data= and now we're going to add the path to our new mod, like so:
data=/home/<user>/Downloads/MWMods/SkyrimUISave and exit the file. Now run the OpenMW Launcher again. If your mod has a .esm file, it would now show up in the Data Files tab so you can select it (as long as you put in the correct path). In our example, we're using a simple UI mod (SkyrimUI) which has no .esm file, so nothing will noticeably change in the OpenMW Launcher. Run the game, however, and you'll see the game UI has changed!
This is because OpenMW picks up the folder of your mod and recognises the data files within, such as the Textures and Meshes folders, and merges them on the fly when you run the game. But the game's original textures and meshes are still intact, so if you wish to remove the mod, all you have to do is remove the above data= line from ~/.config/openmw/openmw.cfg. Or in the case of mods that have .esm files, simply uncheck them in the OpenMW Launcher.
Anyway, hopefully you can see how simple and robust the mod management is. I imagine in future the developers may even add a graphical interface for adding mods by folder instead of explicitly adding the paths to the openmw.cfg file, but as it is, it works pretty well.
For anyone wondering, these are the mods I'm currently running without issues:
- Better Heads
- Dirnaes Beast Animations
- Graphic Herbalism
- LGNPC (Less Generic NPCs)
- SkyrimUI
- Morrowind Visual Pack
- Tamriel Rebuilt
Have Fun!
I hope this article helps and you have many happy hours in the land of Morrowind. Moreover, keep an eye on OpenMW's development, as interesting things are always happening. The progress has been quite amazing for a project that is made up of volunteers!